

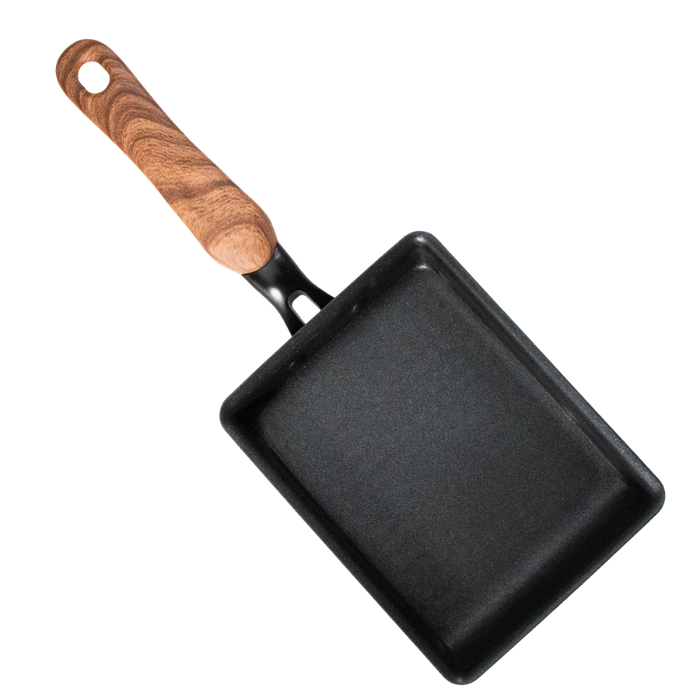
Tamagoyaki, the Japanese rolled omelette, looks like it takes years to master: neat golden layers, a perfectly rectangular block, clean slices that hold together. In reality, most of the trick is in the tool. A tamagoyaki pan (in Japanese, makiyakinabe) is a small rectangular frying pan with straight sides, and once you know how to use it, a beautiful omelette takes about ten minutes.
This guide walks you through how to use a tamagoyaki pan step by step: how much egg to use, how hot the pan should be, how to roll each layer and how to fix the most common mistakes. It is written for home cooks using a modern non-stick pan, like our Made-in-Japan tamagoyaki pan.
What is a tamagoyaki pan?
A tamagoyaki pan is a rectangular or square frying pan made for one job: building an omelette from thin layers of egg that are rolled up one after another. The straight walls give the roll its block shape, and the square corners let each new layer of egg reach the edges evenly.
There are three main types:
- Copper: the professional choice in Japanese restaurants. Excellent heat control, but it needs seasoning and careful upkeep.
- Cast iron or carbon steel: durable and good at holding heat, but heavy and prone to sticking until it is well seasoned.
- Non-stick: the easiest choice for home cooks and beginners. The egg releases easily, you need very little oil and cleanup takes seconds.
Do you really need a tamagoyaki pan?
Honestly, no: you can roll a Japanese omelette in a small round frying pan, and it will taste the same. But the ends taper, the layers turn out uneven, and it is much harder to get the tall, even block you see in bento boxes and at sushi counters.
A tamagoyaki pan makes the technique easier. Every layer covers the whole surface, the walls help you push and shape the roll, and the result slices into neat, even pieces. If you make tamagoyaki more than once in a while, it is worth having.
Ingredients: how many eggs for your pan?
The right amount of egg depends on the size of your pan. Our pan has a cooking surface of 144 × 194 mm (about 5.7 × 7.6 in), which is ideal for 3 large eggs: enough for 3–4 thin layers and a roll for two people.
| Pan size (cooking surface) | Eggs | Layers |
|---|---|---|
| Small, about 10 × 15 cm (4 × 6 in) | 2 | 3 |
| Medium, about 14 × 19 cm (5.5 × 7.5 in) | 3 | 3–4 |
| Large, 18 × 18 cm (7 × 7 in) or more | 4–5 | 4–5 |
Two classic flavours
| Sweet tamagoyaki (Tokyo style) | Dashimaki tamago (Kyoto and Osaka style) | |
|---|---|---|
| Eggs | 3 large eggs | 3 large eggs |
| Seasoning | 1 tbsp sugar, 1 tsp mirin, 1 tsp soy sauce, a pinch of salt | 3 tbsp dashi stock, 1 tsp mirin, 1 tsp light soy sauce (usukuchi), a pinch of salt |
| Taste and texture | Sweet and savoury, firm, perfect for bento | Savoury, juicy and delicate, served with grated daikon |
Tip: the more dashi you add, the juicier the omelette, but also the softer and harder to roll. Start with 3 tablespoons and add more once you are comfortable with the technique.
What else you need
- Cooking chopsticks or a thin silicone spatula (never metal on a non-stick pan)
- A folded paper towel and a small dish of neutral oil
- Optional: a bamboo sushi mat (makisu) or a sheet of baking paper for shaping
How to use a tamagoyaki pan, step by step
- Mix gently. Beat the eggs with the seasonings using chopsticks, cutting through the whites rather than whisking hard. You want an even mixture without foam, because air bubbles turn into holes between the layers. For an extra-smooth finish, pour it through a sieve.
- Heat the pan. Place the pan over medium heat for a minute or two. Too hot and the egg browns and turns rubbery; too cool and it sticks. Test with a drop of egg: it should sizzle gently and set within a few seconds.
- Oil the pan. Dip the folded paper towel in oil and wipe a thin layer over the whole surface, including the corners and the lower walls. Even a non-stick pan needs a little oil for clean layers.
- Pour the first layer. Add about a third of the egg mixture and tilt the pan so it covers the whole surface. Pop any large bubbles with your chopsticks.
- Roll it up. When the edges have set but the top is still slightly wet, fold the egg from the far end towards you in two or three turns. Don’t worry if the first roll looks untidy: it ends up in the centre.
- Move the roll back. Push the roll to the far end of the pan, wipe oil over the empty part, then lift the roll slightly and oil underneath it too.
- Add the next layer. Pour in the next portion of egg and lift the roll so the liquid egg flows underneath it. This is what glues the layers together.
- Roll again. Once the new layer is almost set, roll the omelette back towards you, wrapping the new layer around the first roll. Repeat steps 6 to 8 until the egg is used up.
- Shape it. Press the finished roll against the walls of the pan for a few seconds on each side to square it off. For a perfect block, wrap it in a bamboo mat or baking paper and let it rest for about 5 minutes.
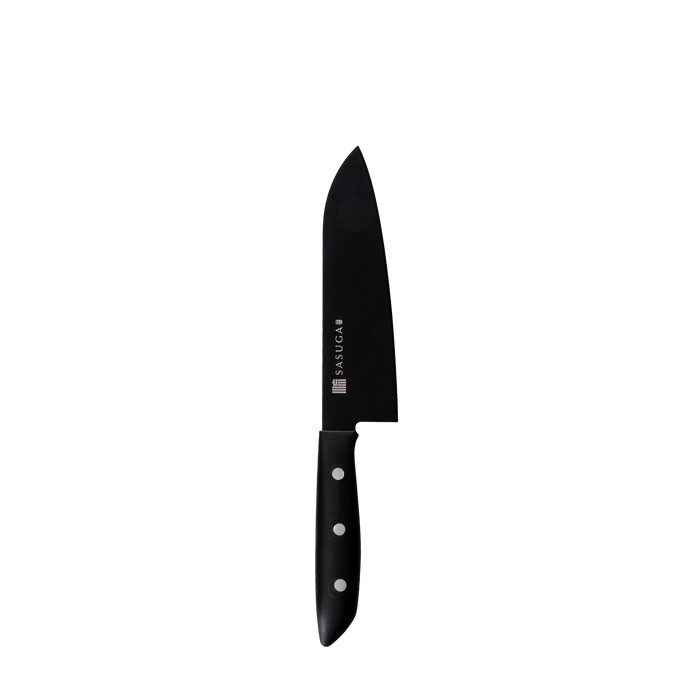
- Slice and serve. Cut it into 6 to 8 slices with a sharp knife, such as a Santoku. A slightly cooled roll gives the cleanest slices.
Keep the heat at medium to medium-low throughout. If the egg browns quickly or the pan starts to smoke, lift it off the heat for a few seconds; Japanese cooks do this all the time.
Start rolling
Tamagoyaki rewards a little practice. Your first roll may be slightly uneven, but by the third or fourth you will feel the rhythm of pour, wait and roll. With the right pan, medium heat and thin layers, a golden, perfectly layered Japanese omelette is well within reach.
Our tamagoyaki pan is made in Osaka by skilled metalworkers and sized for 3 eggs, so it is easy to handle from your very first try. Discover more Japanese cookware in our shop.
Join Our Newsletter


